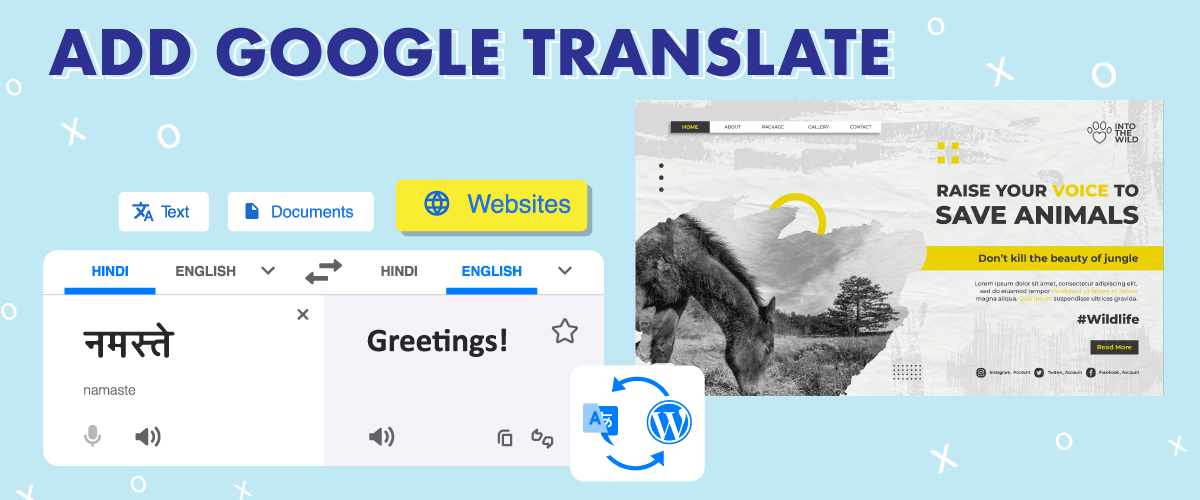
Do you want to have a multilingual site on your WordPress website so that your site can be accessed by many people in the world? One way is to install a WordPress plugin or use an automatic translation service.
On WordPress, you can connect various tools and services using plugins.
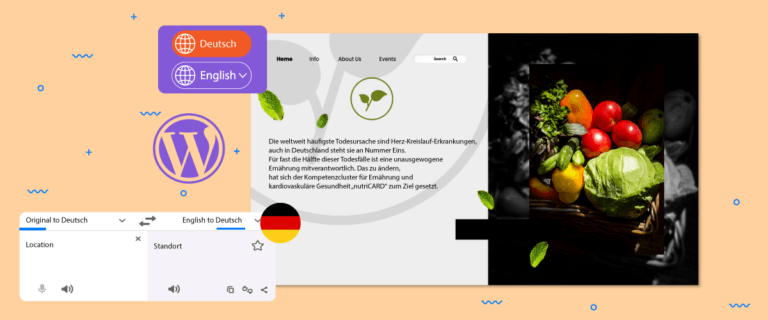
Google Translate is one of the tools that can provide accurate site translation results; therefore you should consider adding Google Translate to a WordPress website via the Google Language Translator plugin. On the other hand, Google Translate is only one part of Google translation tool, there’s also the Google cloud translation API. The Google cloud translation API offers a way more accurate translations with SEO page index.
That’s why in this article we will review in full how to add Google Translate to a WordPress website and how to connect WordPress with the Google Cloud translation via Linguise.
Keypoints: Adding a Google Translate to a WordPress website
Instant multilingual support with Google Translate
Installing a Google Translate plugin allows your WordPress site to offer automatic translations, making content accessible to visitors from different countries without manual work.
Improve user experience and global reach
When visitors can read your site in their preferred language, they are more likely to engage, stay longer, and interact with your content, helping you reach a wider international audience.
Use translation tools that support SEO and accuracy
Connecting translation services like Google Cloud or advanced plugins can improve translation quality and help your multilingual pages get indexed in search engines.
Why should you add Google Translate to your WordPress website?
Why do you have to add Google Translate to your WordPress website? Below are some reasons why you should add Google Translate to your WordPress website.
- Reach a global audience: By adding Google Translate to your website, you can make your content accessible to people who speak different languages, which can help you reach a wider audience.
- Improve user experience: If visitors to your website can view content in their preferred language, they are more likely to engage with your site and spend more time on it, which can improve their overall user experience.
- Enhance SEO: By making your website accessible to users in different languages, you can potentially improve your search engine optimization (SEO) by targeting international keywords and reaching a wider audience. For that, the Google cloud translation API connection is required.
- Cost-effective: Google Translate is a free tool that you can easily add to your website, which can save you time and money compared to hiring a professional translator.
Adding Google Translate to your WordPress website can be a simple and effective way to improve your website’s accessibility, user experience, and potentially even your SEO.
How to add Google Translate to your WordPress website
In order to use Google Translate on the WordPress website, you need the help of Google Language Translator. The Google Language Translator Plugin is part of Google Translate.
Well, below we will tell you how to add Google Translate to your WordPress website. There are several ways that you have to follow so that the plugin is installed on the web.
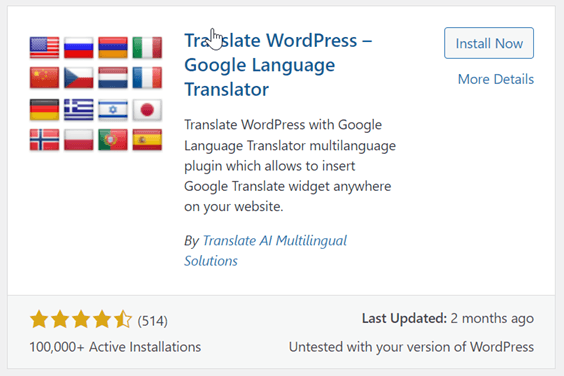
Step 1: Install and activate the Google Language Translator plugin
The first step is to install and activate the Google Language Translator plugin. You can find this plugin on the Plugins menu > Add plugins > then in the search field write Google Language Translator.
If you have found it, click Install Now then select Activate to activate the plugin.
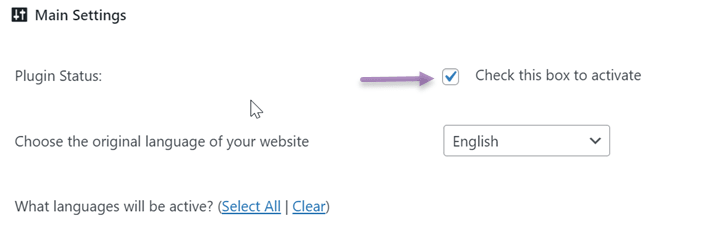
Step 2: Configure the Google Language Translator plugin
After installing and activating the plugin, you will need to configure it to suit your website’s needs. Untuk mengkonfigurasi plugin tersebut, click Settings pada dashboard WordPress kemudian pilih Google Language Translator.
On the settings page, there are several sections that you have to adjust, the first is to make sure the checkbox this box to active is checked. This indicates that the plugin is active.
Next is setting the flag as a language selection option. Here you can adjust the size of the language switcher, color, and background color.
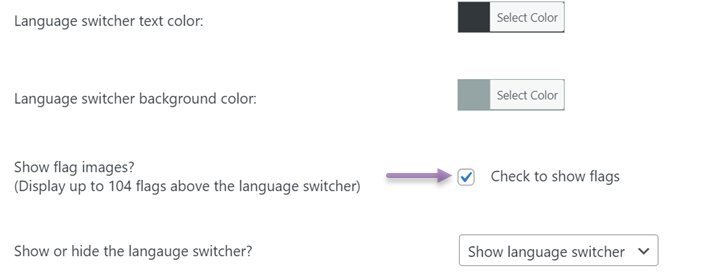
The last setting is the floating widget, if you want to activate it, make sure to check the box below.
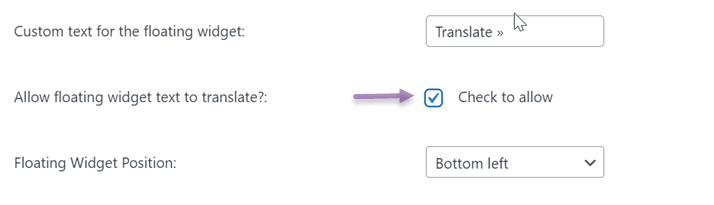
If all columns have been adjusted based on needs, click Save Changes to save changes.
Step 3: Test your multilingual website
The next step is to test your multilingual website. This step is done to check whether the settings in the plugin have been successfully applied or not.
- Go to your website’s homepage and check to see if the language switcher is displayed.
- Select a language from the switcher and check to see if your website content is translated correctly.
- Click on different pages on your website to ensure that all of your website’s pages are translated correctly.
- Check your website’s design and layout to make sure everything looks correct in the translated language.
Google Language Translator feature
Apart from understanding how to add Google Translate to a WordPress website, you also have to understand what features you will get if you use the plugin.
The Google Language Translator feature is divided into two types, namely free and paid features.
The free version offers the following features
- Automatic translation
- Integration with Google Analytics
- Translate pages, categories, tags, widgets, and much more.
- Translate WooCommerce sites
As you can see, in the free version you don’t get multilingual SEO features, translation with NMT technology, compatibility with various plugins and themes, metadata translation, and many other interesting features.
That is, in the free version of Google Language Translator, you will only get basic features such as automatic translation and translation of other website elements.
As for the advanced features, you have to pay for the premium version.
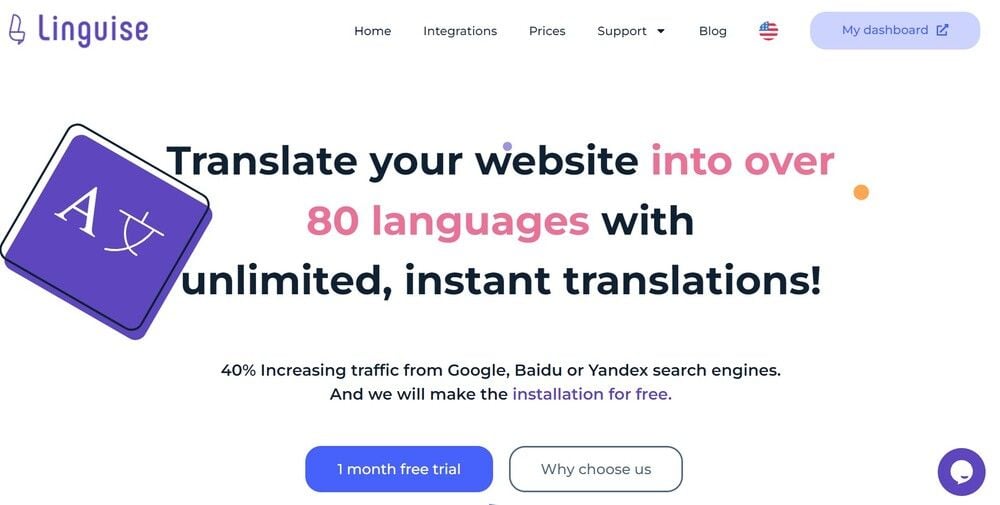
Alternatives to Google Translate, introducing Linguise!
As we know, the Google Language Translator plugin doesn’t have enough features to support the translation of WordPress websites, therefore you can look for other alternative plugins that have more complete features, such as Linguise.
Linguise is an automatic translation WordPress plugin that uses NMT technology or Neural Machine Translation. Linguise uses Google’s best NMT model to ensure you get the most accurate translation for your content.
Not only do you translate automatically, you can also translate manually through the front-end live editor feature. Linguise has language availability for more than 80 languages, that way you can translate various visitor languages.
Apart from that, Linguise also has a free version, the free version in Linguise is different from Google Language Translator.
Because even though it offers it for free, Linguise still provides features like the paid version. Starting from 100% SEO support, translating all website elements, already using NMT technology, and being compatible with various themes and plugins.
Linguise provides a dedicated dashboard for users to easily manage translations.
Apart from using the plugin above, there are also several other alternatives besides the Google Language Translator by Google Translate plugin. These alternative plugins may have features that the previous plugin did not have.
Instead of just listening to Linguise’s interesting features, it’s better for you to try it directly with a 1-month free trial service.
To use the free trial, you only need to register for a Linguise account without adding credit card information. Immediately, below are the steps on how to install Linguise on a WordPress website.
Step 1: Register account Linguise
The first step is to register for a Linguise account, when registering for an account for the free version you do not need to enter credit card information. You only need to enter some personal data starting from your name, email, and other data.
Step 2: Access the dashboard & get the API key
After that, you will get access to the Linguise dashboard. The Linguise Dashboard is the main page that is used to make translation settings, there are several settings such as rules for making translation loudspeakers, live editors, dashboards for monitoring word usage, statistics, and many more.
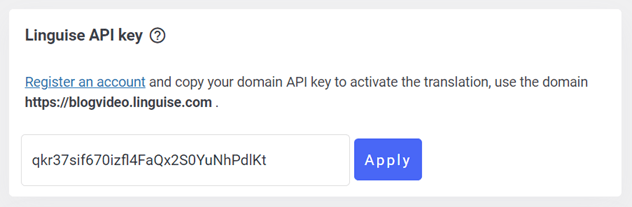
In the dashboard settings menu, there is an API key that you can later paste on the WordPress website. To get the API key, open the dashboard > select Settings > click the API key.

Don’t forget to copy the API so that later it can be copied to WordPress.
Step 3: Add languages do you need
Apart from getting the API key, in the settings menu, there is also a choice of language that you will add to the site. Linguise offers 85 languages that are available for free and can be used without any restrictions.
Therefore, here you can add as many languages as you want. You only need to write the language after that choice.
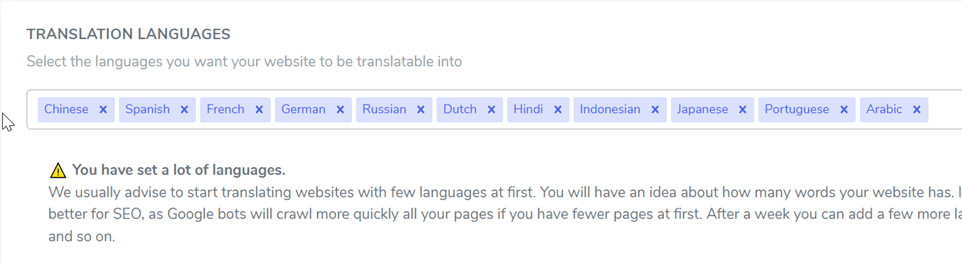
If so, don’t forget to click Save Changes to save changes. Because after this the next step is no longer on the Linguise dashboard.
Step 4: Install & activate the plugin Linguise
The fourth step in using the Linguise plugin is installing and activating the plugin on the WordPress website.
The trick, access your WordPress dashboard after that enter the Plugin menu and select Add Plugin. In the search field write Linguise then click Install then Activate.
If the plugin has been successfully installed, enter the main settings then copy the API key that you got earlier.
After copying the API key, don’t forget to set the flag logo according to the language you previously selected.

You can set the flag logo in any position, then you also choose the display whether it is a popup, side-by-side, or dropdown, to the size of the logo.
Step 5: Translation with front-end live editor
After the API key has been copied to the WordPress dashboard, the language has been selected, and specifying the logo or switcher language, it is now possible to translate the content.
In addition to providing automatic translation, Linguise also has a front-end live editor facility that can be used to translate words directly or manually.
Translations made through the live editor are not included in the word translation quota, so you can translate as many words as you want.
Step 6: Try to translate
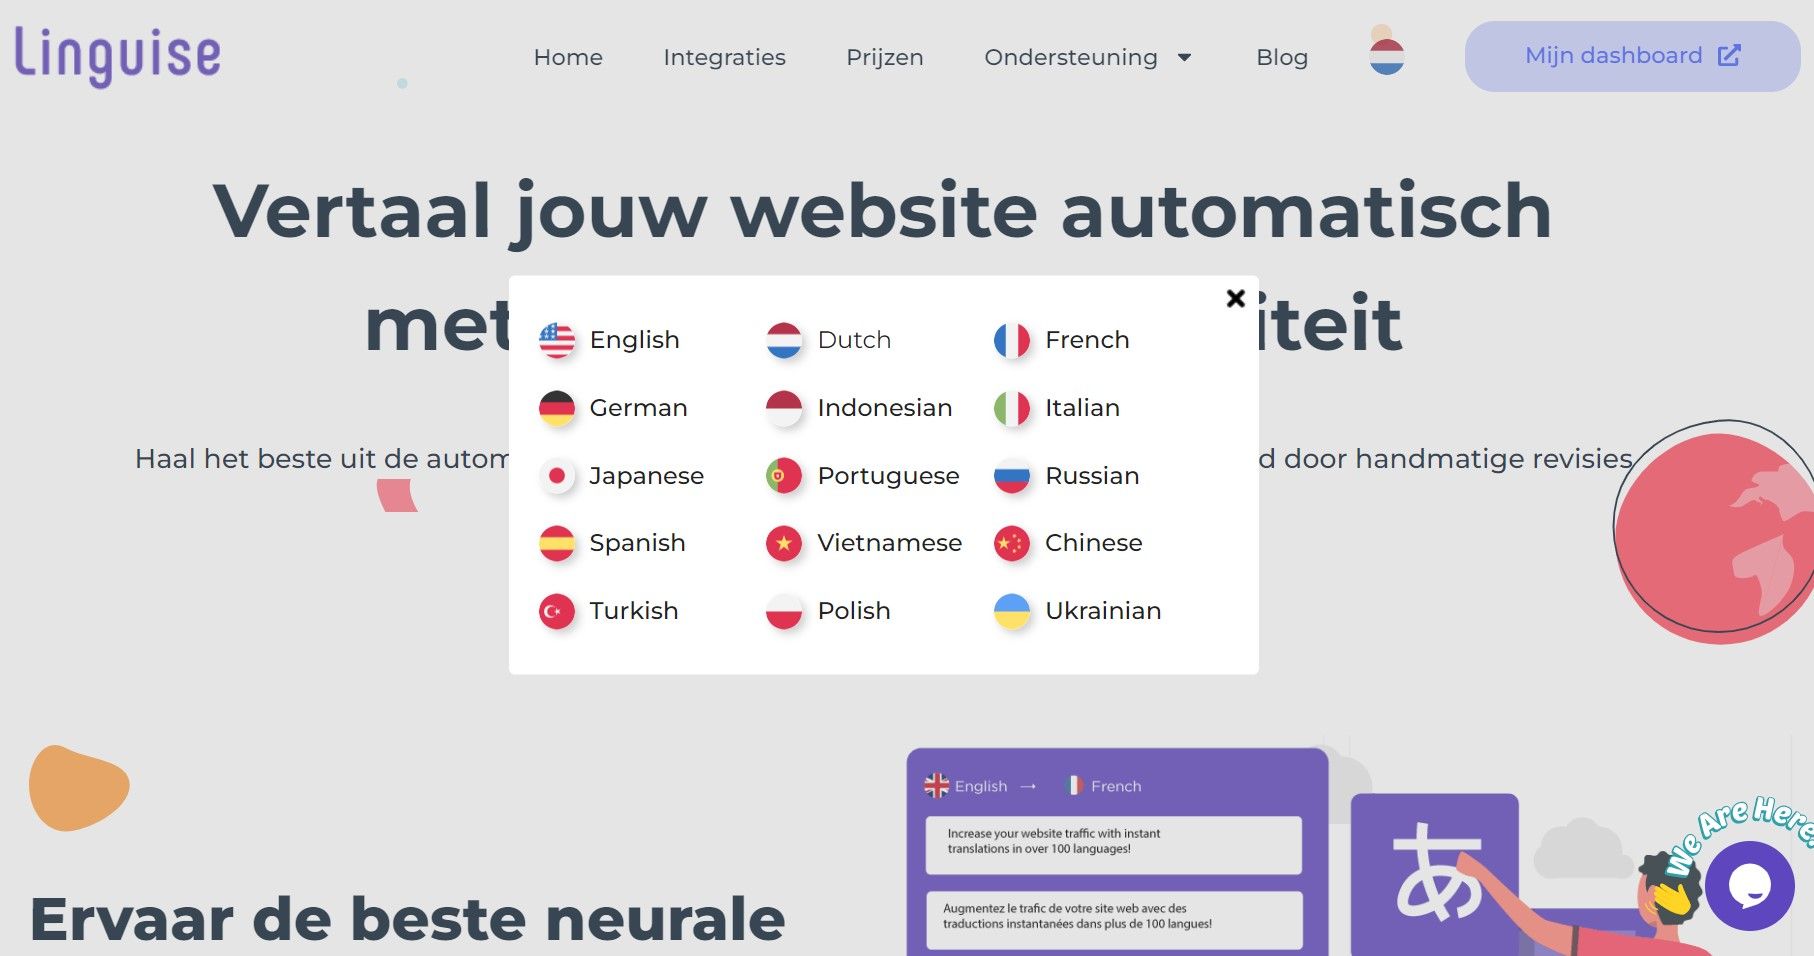
The last step is to try translating a WordPress website that has the Linguise plugin installed. The trick is you only need to access one of the URLs, then in the upper right corner a popup appears in the form of the US flag logo
If you click on the button, various other languages will appear as shown below.
Best practices for adding multilingual support to a WordPress website
Adding multilingual support to your WordPress website is important if you want to reach a wider audience and increase user engagement. Here are some best practices for adding multilingual support to a WordPress website:
- Use appropriate multilingual plugins: To add multilingual support to your WordPress site, use a plugin such as Google Language Translator, Linguise, or Weglot. This plugin makes it easy to translate your content and manage translations for multiple languages.
- Use a language switcher: A language switcher is a tool that allows users to switch between different languages on your website. Choose a language switcher that fits the website design so that it’s easy to find.
- Translate all content: When adding multilingual support, it is important to translate all content on your website, including menus, widgets, and plugins. Make sure all translations are accurate and consistent.
- Consider cultural differences: When translating your content, set the cultural differences that may exist between languages. Avoid using idioms or phrases that might not make sense in another language.
- Test your translation: Before publishing your translated content, be sure to test it thoroughly to ensure it is accurate and reads well in the target language. Undertake work with professional translators if required.
By following these best practices, you can add multilingual support to your WordPress website and reach a wider audience.
Conclusion
Adding multilingual support to your WordPress website is a great way to go if you want to reach an audience from different countries. By adding a translation plugin, visitors from other countries can still understand the content on your site.
Before adding translation plugin support to your website, you can follow the best practices above. Don’t forget to test the website that has the plugin installed to check if the translation is successful.
When choosing a plugin to add to your WordPress website, make sure to choose a plugin that fits your site’s needs. In addition, also adjust to the existing budget.
Now it’s time to add Google Translate to your WordPress website or another plugin. One of the alternative plugins is Linguise, as mentioned above Linguise is an alternative translation plugin for Google Translate which features a front-end live editor with more than 80 language options.
If you are interested in using Linguise as an alternative to Google Translate, register for a Linguise account. Take advantage of the 30-day free version with unlimited language features and up to 600,000 words of translation.