

Table of Contents
Technical requirements
To run the Linguise translation extension for Joomla, you’ll need the following:
- Run PHP 7+ version or above
- Activate the URL rewriting in Joomla configuration
It’ll be checked automatically by the Joomla extension - Joomla version ≥ 3.5
Generate the API Key
Before installing Joomla automatic translation in Linguise, you need to register a Linguise account first, after that connection to your Linguise dashboard you’ll need to setup a new domain first and save it’s settings to get the API Key.
The API key is what is required to activate the translation on your Joomla website. Basically, the API key will check what language is activated on what domain and will allow the neural translation pages to be generated.
Copy the API Key and keep it in your clipboard or keep the browser tab open, so you can copy it later.

Install the Joomla translation extension
Now you need to install the Joomla module and plugin (this is a single package) to activate the language switcher (flags with language switcher). You can download the latest version from here.
Once the Joomla extension is installed and activated you can access the component configuration by using the admin menu: Component > Linguise.
From here, paste the API key you’ve generated from your Linguise dashboard and click apply.
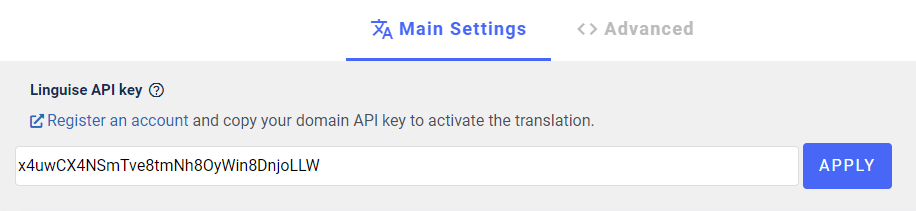
Now the translation in all the languages selected is already activated on your Joomla website!
This action should synchronize all the language settings between Linguise and your website (original language and translated language list).
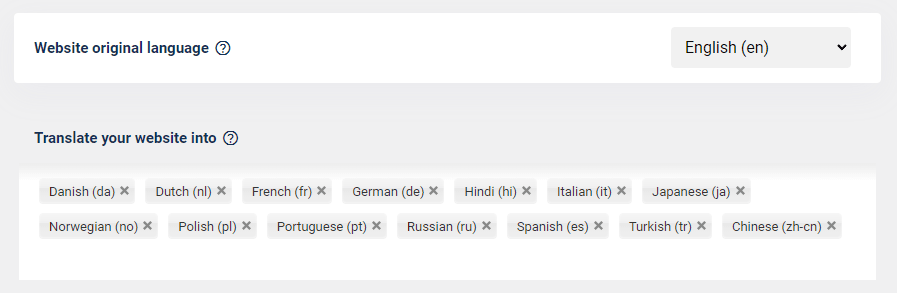
SEO important note: The number of languages you setup has a large impact on SEO. When you setup your translation languages, if you have a large amount of indexed pages (>500), search engine may take a lot of time to process them. It may impact your SEO in your original language. That’s why we recommend adding at first a maximum of 5 languages, then when it’s indexed, you can add languages in a batch of 3 per month.
Make sure the URL rewriting is activated
In order to load your language on new URLs (like domain.com/es) the URL needs to be configured in Joomla general configuration, menu: System > Configuration > Site.
There are 2 options to activate, which are by the way the best one for SEO, they are:
- Search Engine Friendly URLs
- Use URL Rewriting (require editing a file to work properly)
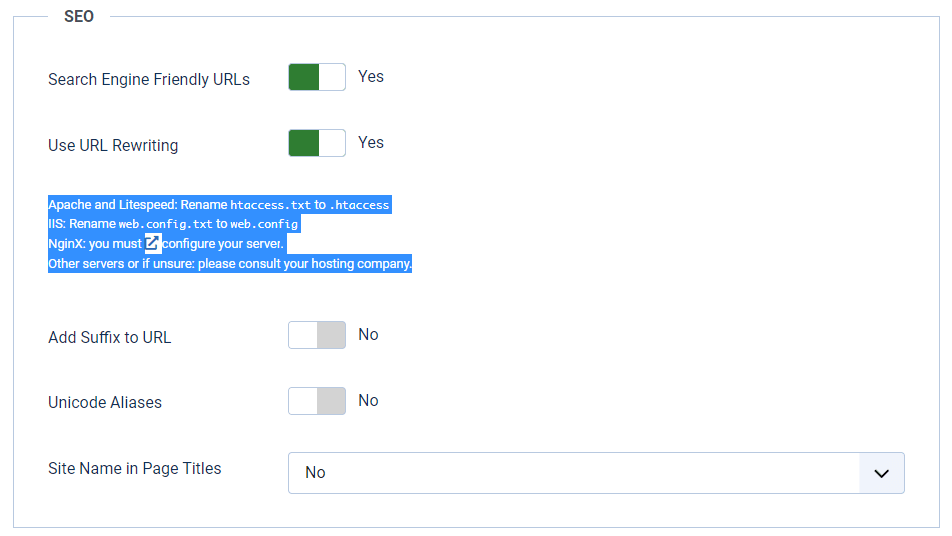
URL rewriting and 404 errors: If these 2 settings are not activated you’ll have 404 errors on language pages. Plus, make sure there’s no other language tool that “locks” the multilingual URLs like the language filter plugin for the Joomla default multilingual system.
Add a Joomla language switcher
You have 3 methods to load the website language switcher (flags and language names) to your website on Joomla.
- Use a Joomla menu (from the Joomla menu manager)
- Use a Joomla module (from the Joomla module manager)
- Use a PHP snippet

Add a Joomla menu
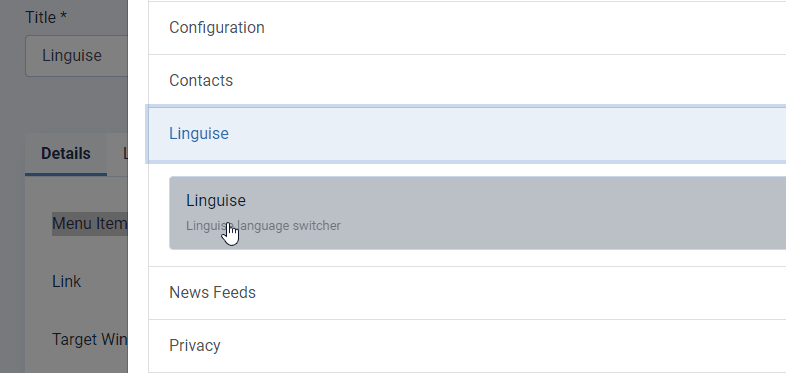
To add a Joomla menu to display the language switcher just use the Joomla menu manager Menu > Your menu > New
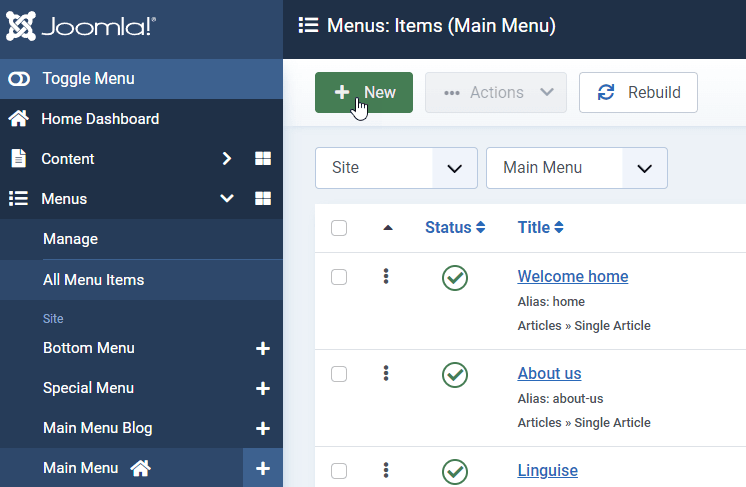
From the menu element setting, select Linguise and it’s done!
Your menu will be displayed according to the display settings you’ve setup in the component.
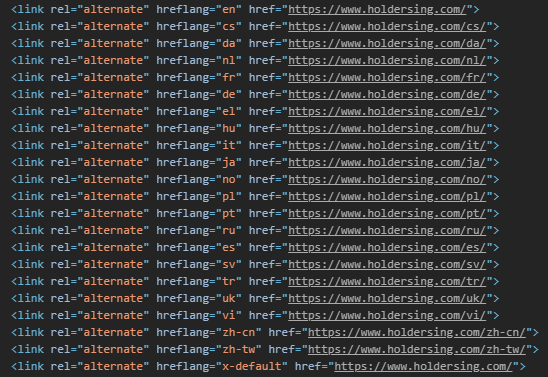
The alternate option will generate the alternate URL per language, so the search engine can crawl easily all the language version of the page. It’s recommended to let it activated.

An alternate example in the HTML code that will be crawled by search engines:
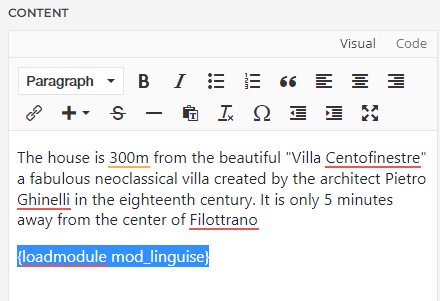
Load a Joomla module in content
The other option to include a language switcher is to use a pre-installed Joomla module and load it using the load module feature. The text to include in any text editor is: {loadmodule mod_linguise}
PHP code to include language switcher
This part is more for developers that want to include Linguise language switcher in, for example, a custom PHP template file that load a part of the website header. There’s a code you can use for that, just copy and paste it from the component.
					/**
* Get the linguise module
* If you want to use a completely different login module change the value of name in your layout override.
*/
$linguisemodule = LinguiseModelLinguise::getLinguiseModule('mod_linguise');
echo JModuleHelper::renderModule($linguisemodule, array('id' => 'section-box'));
Setup the language switcher type
There’s many design option that help the language switcher to be loaded anywhere on your website. For example, style won’t be the same on the white top bar and on a dark footer.
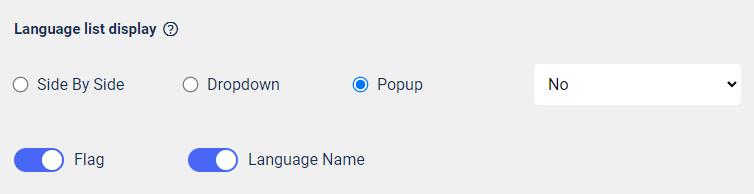
On the right side of the screen, you can use the preview to check the preview.
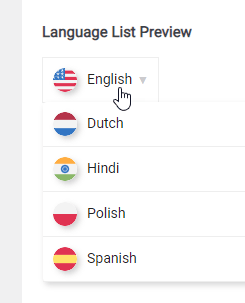
Load the language switcher in Joomla content
To display the Language switcher at the specific place, in the Joomla content, you should set the position as “In place”.
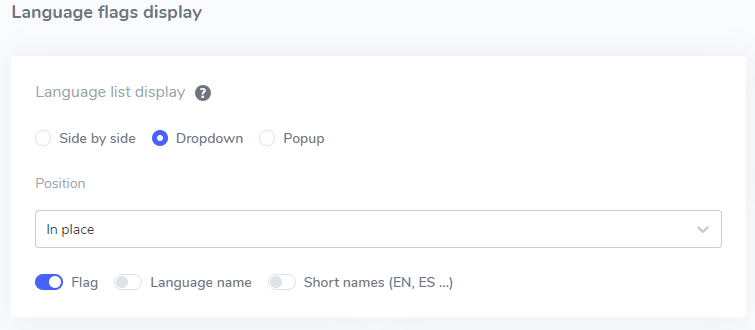
Once you have set the position in the Linguise dashboard, you can add the shortcode below to include it. Copy the code below to put it in your clipboard.
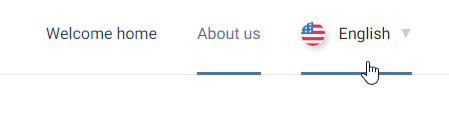
Once it’s added, on the frontend you’ll have the flag and language names displayed in the HTML area you’ve added the code.
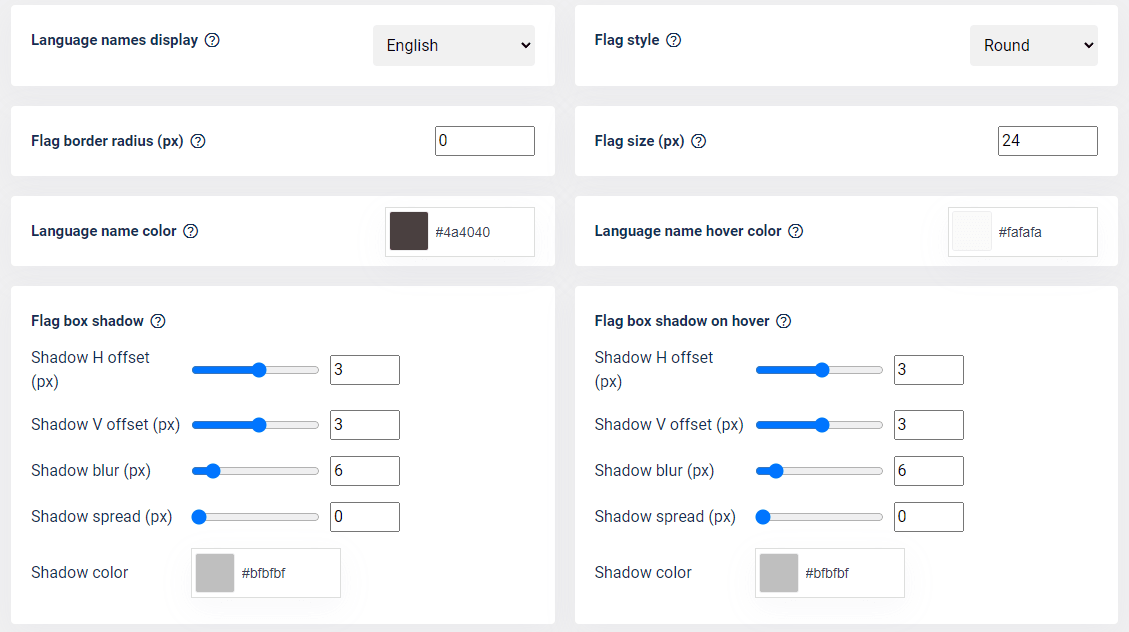
Language switcher flag and text design
There’s many design option that help the language switcher to be loaded anywhere on your website. For example, style won’t be the same on the white top bar and on a dark footer.
Main options are:
- Flags shape and size
- Language names text color
- Shadow of elements on mouse hover
- Mouse hover style
Joomla automatic translation full tutorial
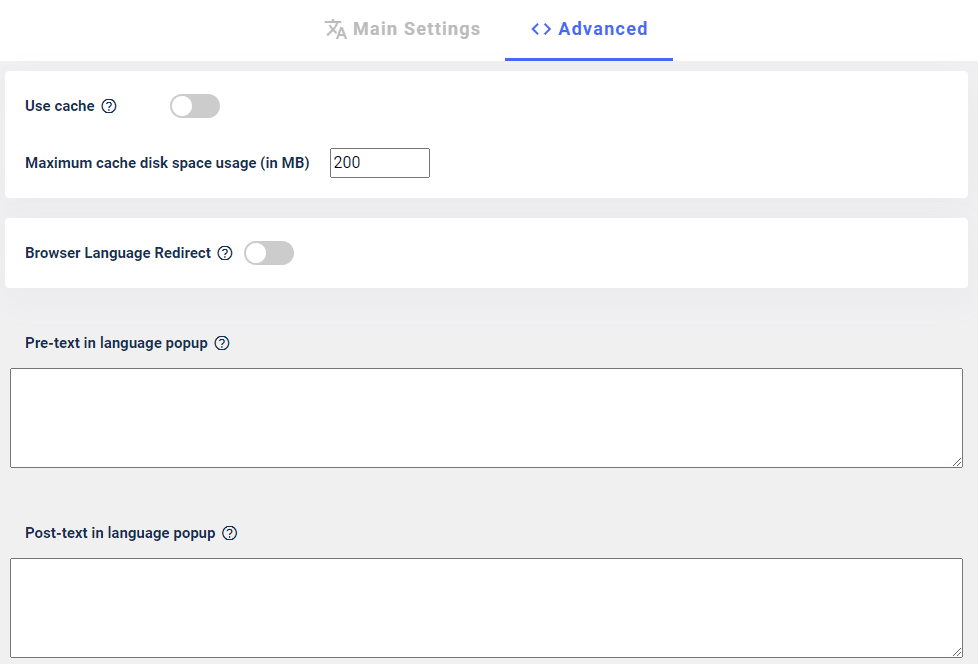
Language switcher advanced options
Finally, you can setup the advanced options such as cache setting, the amount of URL and translation to store locally to be served faster.
The browser language redirect is not recommended for various reasons detailed here. Basically, it redirects the user to one of the languages that is setup in his browser.
Dynamic Translation feature
Introducing our new feature “Dynamic Translations”. We understand that most of the interactive website has dynamic content that generated through JavaScript or AJAX.
With our new Dynamic Translation feature, you can seamlessly translate content that loads asynchronously (dynamically) after the page loaded. This enhancement ensures a smoother multilingual experience for your visitors!
Make sure you also activate it on your Linguise dashboard account’s Settings!

Still having trouble with your Linguise install? Don’t hesitate to reach us, we do offer custom free installation on your website!